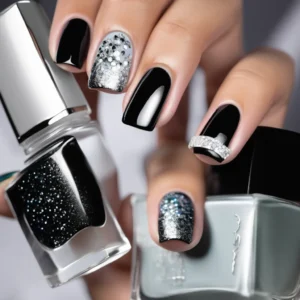
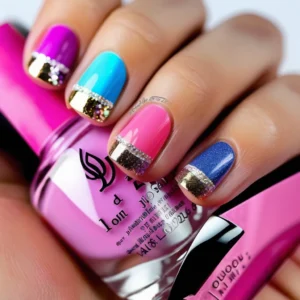
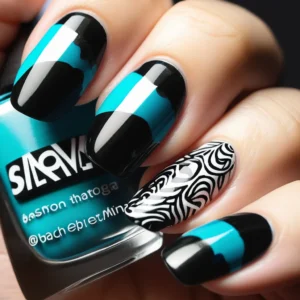
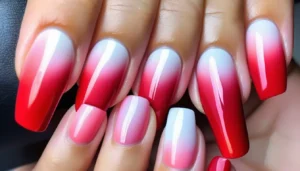
Hey nail artists! Ready to shake up your style game? We’re about to dive into the most unexpected yet absolutely iconic nail trend of the season: Barbiecore Grunge Butterfly nails. Trust me, this isn’t your typical pink manicure – we’re talking about the perfect rebellion against traditional nail art that would make both Barbie and Kurt Cobain proud!
Why This Trend is Absolutely Everything Right Now
Let’s be real – combining Barbiecore’s unapologetic femininity with grunge’s rebellious spirit sounds crazy, right? WRONG! This mashup is exactly what makes it so incredible. Here’s why you need this look in your life:
- It’s a conversation starter (seriously, everyone will ask about your nails)
- Perfect for those days when you can’t choose between pretty and edgy
- Totally customizable to your personal style vibe
- Works for both casual coffee runs and wild night outs
The Vibe We’re Creating
Picture this: Hot pink meets distressed black, pristine butterflies getting a punk makeover, and glitter that looks like it survived a mosh pit. We’re not just doing nail art – we’re telling a story of contrast and rebellion!


What You’ll Need (Your Nail Art Arsenal)
The Basics:
- Base coat (duh!)
- Long-wearing top coat
- Matte top coat (trust the process)
- Builder gel if you’re going for length
The Barbie Squad:
- Hot pink gel polish (the brighter, the better!)
- Metallic pink chrome powder
- Pink/silver glitter mix
- Pearl white polish
The Grunge Gang:
- Black gel polish
- Charcoal grey for distressing
- Smoky topcoat
- Matte black powder
Butterfly Magic:
- Butterfly nail stickers/decals (or freehand if you’re feeling brave)
- Metallic foils
- Fine detail brush set
- Clear rhinestones (optional but recommended)
Let’s Make Magic Happen!
Step 1: Prep Like a Pro (20 mins)
No shortcuts here, bestie! Your canvas needs to be perfect:
- Shape those nails (square with rounded edges works best)
- Push back cuticles (gently!)
- Buff surface (but don’t go crazy)
- Dehydrate and prime
Step 2: Base Creation (45 mins)
Time to lay down that killer foundation:
- Apply base coat (cure 30 secs)
- Create a pink-to-black gradient on each nail
- Start with hot pink at cuticle
- Blend into black at the tips
- Add smoky effects with grey polish
- Cure between layers (patience is key!)
Step 3: The Butterfly Effect (30 mins)
Now for the star of the show:
- Place butterflies strategically
- Some whole, some torn
- Mix sizes and styles
- Add distressed effects around wings
- Layer with metallic foils for dimension
Step 4: Grunge It Up (30 mins)
Let’s get messy (but make it fashion):
- Add distressed lines with black polish
- Create worn effects with matte powder
- Strategically place “tears” in the design
Step 5: Barbie’s Revenge (20 mins)
Bring back the pink power:
- Add pink chrome accents
- Sprinkle glitter in torn areas
- Place tiny rhinestones for extra sparkle
Step 6: Seal the Deal (15 mins)
The grand finale:
- Seal with clear gel
- Add matte top coat to specific areas
- Glossy top coat for contrast
- Final cure (60 secs)
Pro Tips for Perfection
🔥 Hot Tips:
- Mix your mattes and shines for dimension
- Don’t make everything symmetrical – embrace the chaos!
- Layer your effects gradually
- Take pics in different lighting (trust me, you’ll want to show these off)
Troubleshooting Like a Boss
Having a nail emergency? I got you:
- Butterflies Not Sticking?
- Clean surface with alcohol
- Use fresh gel base
- Press and hold for 30 secs
- Colors Mixing Weird?
- Let each layer cure completely
- Use thinner coats
- Build up gradually
- Design Looking Too Cute/Too Grungy?
- Balance with opposite elements
- Add or reduce distressing
- Play with texture contrasts
Maintenance & Longevity
Keep your rebel butterfly masterpiece looking fresh:
- Top coat refresh after week 1
- Cuticle oil daily (non-negotiable!)
- Gentle hand cream application
- Handle with care (but live your life!)
Level-Up Ideas
Ready to go extra? Try these:
- Add 3D butterfly wings
- Include punk-style studs
- Create shattered glass effects
- Add glow-in-the-dark elements
Share Your Creation!
Don’t forget to show off your work:
- Best angles for photos: 45° tilt
- Natural light shows texture best
- Include close-ups of details
- Show both matte and glossy elements
Final Pep Talk
Remember: This isn’t about perfection – it’s about expression! Every “imperfect” line adds character. You’re not just doing nail art; you’re creating wearable rebellion!
Ready to rock this look? Drop a comment with your version or questions below! Let’s create some beautiful chaos together! 💖🦋🖤
