


Hey nail bestie! grabs coffee and settles in
You know those moments when you want your nails to whisper and scream at the same time? That’s exactly what we’re creating today! I’ve been obsessed with this minimalist vaporwave look lately, and after countless tries (and yes, some hilarious fails), I’ve finally cracked the code to nail strips that’ll make both Marie Kondo and your favorite synthwave artist proud.
Why You’re Going to Love This Look
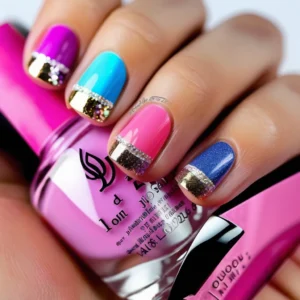
Picture this: clean, precise lines meeting dreamy gradients. Roman busts chilling with geometric shapes. That perfect shade of cyber-pink fading into twilight purple. chef’s kiss It’s giving main character energy while keeping it totally wearable for your 9-to-5.


Let’s Get Real About What You Need
rummages through nail kit
First things first – let’s get your supplies sorted:
Your Must-Haves:
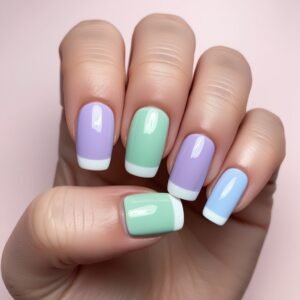
- Nail strips in alabaster white (your canvas!)
- Precision scissors (the sharper, the better)
- Glass nail file (trust me on this one)
- Mini nail buffer
- Cuticle pusher
- Isopropyl alcohol wipes
- Top coat that means business
The Fun Stuff:
- Vaporwave design strips (those sunset gradients!)
- Minimal geometric accent strips
- Clear holographic overlays
- Fine liner brush for custom details
- Tweezers (the precise kind)
The Magic Process
1. Prep Like You Mean It (15 mins)
Look, I know prep work isn’t the exciting part, but it’s like making your bed – it just makes everything better!
- Start with completely clean nails (yes, take off that old polish properly!)
- Give your cuticles some love
- Lightly buff your nail surface
- Wipe with alcohol (gets rid of all the sneaky oils)
2. The Base Game (20 mins)
This is where we lay our minimalist foundation:
- Measure your nail strips (twice, cut once!)
- Start from your pinky (game-changing tip I learned the hard way)
- Center each strip carefully
- Smooth from center outward (like you’re petting a very tiny cat)
3. Vaporwave Accents (25 mins)
Now for the fun part!
For each accent nail:
- Choose your gradient placement thoughtfully
- Apply with the confidence of someone who definitely knows what they’re doing
- Press firmly but don’t drag
- Trim excess with precision
Pro Tip: Keep your accents to 2-3 nails per hand. Remember, we’re going minimalist here, not full cyber-disco!
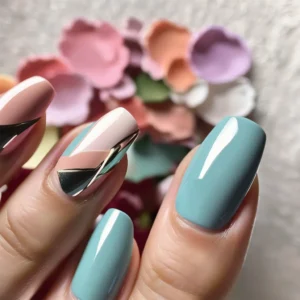
4. Geometric Details (20 mins)
Time to add those clean lines that make everything pop:
- Think asymmetrical but balanced
- Use thin metallic strips for subtle dimension
- Layer clear holo strips strategically
5. Sealing Your Masterpiece (10 mins)
The grand finale:
- Apply top coat like you’re glazing a precious artifact
- Cap those free edges
- Let dry completely (I know it’s hard to wait, but trust the process!)
Troubleshooting Corner
Because we’ve all been there:
🤔 Strips not sticking right?
- Warm them between your palms first
- Make sure your nails are squeaky clean
- Press firmly from center outward
😫 Bubbles showing up?
- Work slower (I know, I know, but seriously)
- Use your nail buffer to smooth them out
- Apply firm pressure with your smoothing tool
Level-Up Your Game
Ready to take it further? Try these variations:
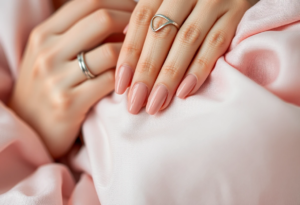
- The Corporate Rebel
- Keep it mostly minimal
- One statement vaporwave accent nail
- Subtle holographic details
- The Weekend Warrior
- More gradient play
- Added geometric patterns
- Strategic negative space
- The Art Gallery Opening
- Abstract shapes
- Metallic accents
- Roman statue micro-details
Make It Last
Some real talk about maintenance:
- Apply top coat every 3-4 days
- Avoid hot water for the first 24 hours
- Use gloves for dishes (I mean it!)
- Keep your edges sealed.