


Creating the Perfect Emerald Green Nail Polish: Ingredients and Techniques
Welcome to the world of nail art, where the possibilities are endless and the colors are vibrant! Today, we’re diving into the process of making the perfect Emerald Green nail color. This stunning shade is a favorite among many, and for good reason! It’s a color that exudes elegance and sophistication, and it’s perfect for any occasion. So, let’s get started on our journey to creating the perfect Emerald Green nail polish.
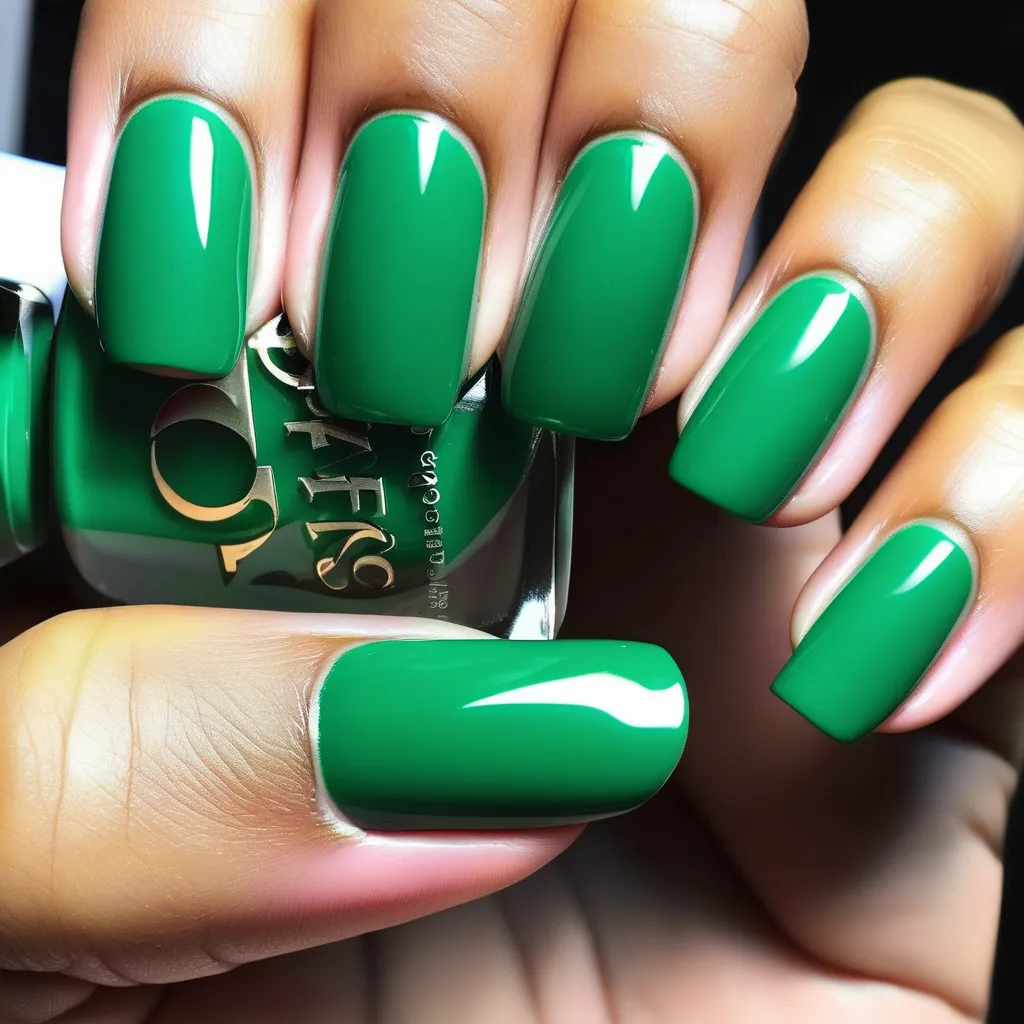
First things first, let’s talk about the ingredients. To create this beautiful shade, you’ll need a few key components. The primary color is, of course, green, but not just any green. We’re aiming for a rich, deep hue that’s reminiscent of the lush foliage of a forest or the sparkling emerald gemstone. To achieve this, you’ll need a base of a deep, vibrant green pigment. This is the star of the show, and it’s what gives the color its name. You can find this pigment in most nail polish manufacturing kits or online.
Next, we’ll need a clear base coat. This is the foundation of your nail polish, and it’s essential for a smooth, even application. It also helps to protect your nails and extend the life of your polish. A good quality base coat will ensure that your Emerald Green color stays vibrant and doesn’t chip easily.
Now, let’s talk about the secret ingredient that will make your Emerald Green nail polish truly pop: a touch of shimmer. A bit of glitter or shimmer will give your nails that extra sparkle and make your manicure stand out. You can choose between fine glitter or larger, chunkier pieces, depending on the look you’re going for.
Read Also: How to make Frosted white nail color
To create the perfect Emerald Green nail polish, you’ll also need a top coat. This is the final layer that seals in the color and adds a glossy finish. It’s the cherry on top of your nail art masterpiece.
Now that we have our ingredients, let’s move on to the techniques. The first step is to mix the green pigment with the clear base coat. Start by adding a small amount of pigment to the base coat and mix it thoroughly. You want to achieve a consistent color throughout the mixture. It’s essential to mix slowly and carefully to avoid clumps. Remember, a little goes a long way, so start with a small amount and add more as needed.
Once you’ve achieved the desired color, it’s time to add the shimmer. This is where you can get creative! You can choose to add a few drops of glitter or shimmer to the mixture, or you can create a gradient effect by layering different shades of green and shimmer. Experiment with different combinations to find the perfect balance for your Emerald Green nail polish.
Once you’re happy with the color and shimmer, it’s time to add the top coat. This will give your nail polish a glossy finish and help it last longer. Mix it in slowly, and make sure it’s well combined.
Now that your Emerald Green nail polish is ready, it’s time to test it out. Apply a thin layer to your nails and let it dry. If you’re happy with the color and texture, you’re ready to go. If not, don’t worry! You can always adjust the color or shimmer to your liking.
Creating the perfect Emerald Green nail polish is all about experimentation and finding the right balance of ingredients and techniques. With a little patience and creativity, you can create a stunning nail color that’s perfect for any occasion. So, grab your supplies and get started on your nail art journey. Who knows, you might just discover a new favorite shade!
Read Also: How to Make Navy blue color for winter
In conclusion, creating the perfect Emerald Green nail polish is a fun and rewarding process. With the right ingredients and techniques, you can achieve a rich, vibrant color that’s sure to turn heads. So, why not give it a try? You might just find your new go-to nail color. Happy painting!

Emerald Green Nail Art: Tips and Tricks for a Flawless Finish
Welcome to the world of Emerald Green nail art! This vibrant and eye-catching color is perfect for adding a pop of color to your look, and with a few tips and tricks, you can achieve a flawless finish that will leave everyone in awe. So, let’s dive right in and explore the secrets to creating the perfect Emerald Green nail art.
First things first, let’s talk about the base coat. A good base coat is essential for any nail art, but it’s especially important when working with a bold color like Emerald Green. A high-a-ling green hue is not only a statement piece but also a versatile shade that can help your nail polish adhere better and last longer. Plus, it can help prevent staining on your nails, which is always a plus.
Now, let’s move on to the actual Emerald Green polish. When choosing a shade, look for a color that’s rich and vibrant, but not too neon or fluorescent. You want a color that’s true to the name and has that classic, deep green hue. Once you’ve found the perfect shade, it’s time to apply it.
When applying your Emerald Green polish, it’s essential to use thin, even coats. This will help prevent any streaks or bubbles from forming, which can ruin the overall look of your nail art. Start by applying a thin layer of polish to each nail, making sure to cover the entire nail bed. Allow the first coat to dry completely before applying a second coat. This will help ensure that your polish is smooth and even, without any streaks or bubbles.
Read Also: Make Icy Blue Nail color for winter
Once your Emerald Green polish is dry, it’s time to add some flair to your nail art. There are countless ways to create stunning Emerald Green nail art, but here are a few ideas to get you started:
1. Ombre: Create a beautiful ombre effect by blending your Emerald Green polish with a lighter shade of green or a complementary color. Start by applying a base coat of Emerald Green to your nails, then use a sponge to dab on a lighter shade of green or a complementary color, like pink or purple. Blend the colors together using the sponge, creating a beautiful gradient effect.
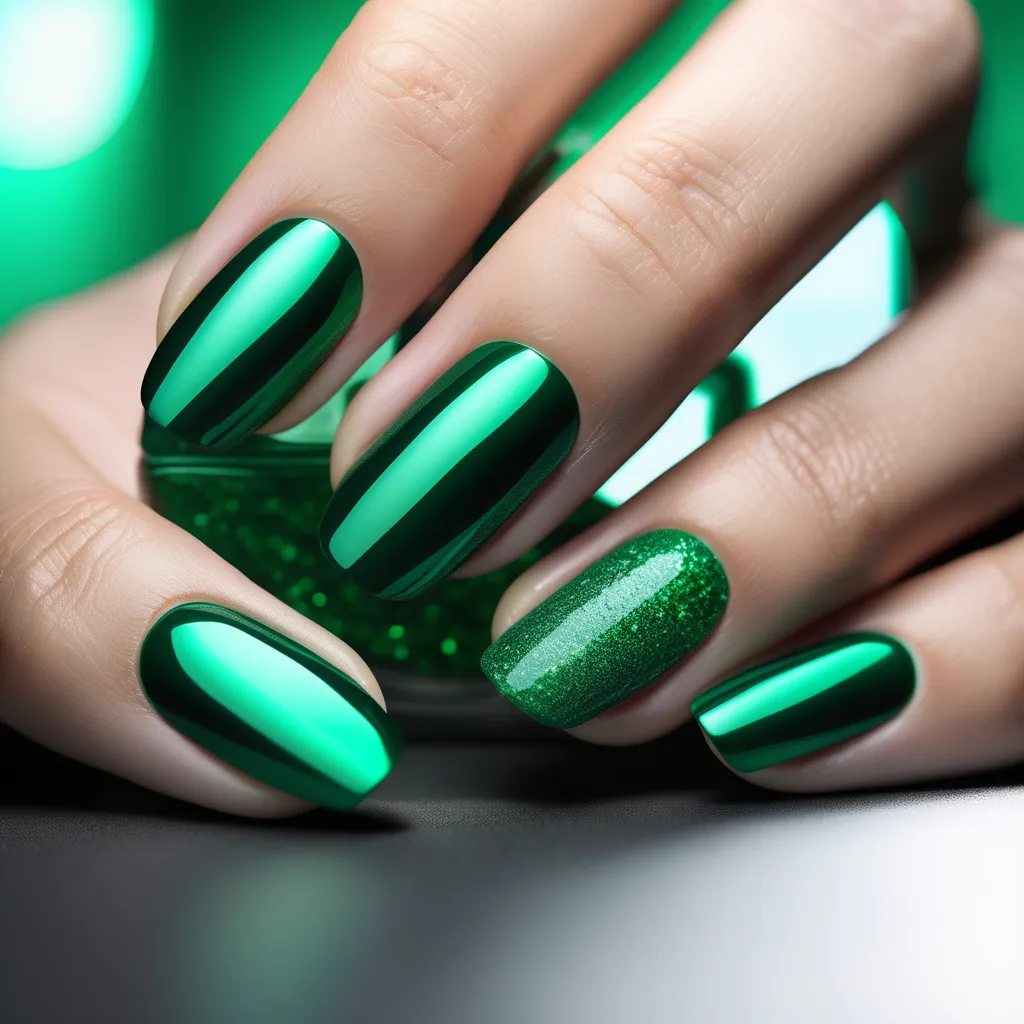
2. Glitter: Add some sparkle to your Emerald Green nail art by incorporating glitter. Apply a base coat of Emerald Green polish, then add a layer of glitter polish on top. You can use a clear glitter polish or a glitter polish in a complementary color, like gold or silver.
3. Stripes: Create a fun and playful look by adding stripes to your Emerald Green nail art. Start by applying a base coat of Emerald Green polish, then use a thin brush to add stripes in a contrasting color, like white or black. You can create straight stripes, zigzags, or even polka dots for a fun and unique look.
4. Accents: Add some accents to your Emerald Green nail art by incorporating other colors or designs. For example, you can add a pop of pink by painting a small heart or flower on each nail. Or, you can create a geometric design by adding triangles or squares in a contrasting color.
No matter which design you choose, remember to take your time and be patient. Nail art can be tricky, but with a little practice, you’ll be able to create stunning Emerald Green nail art that’s sure to turn heads.
Finally, don’t forget to seal your nail art with a top coat. A good top coat will help protect your nail art and keep it looking fresh and vibrant for longer. Plus, it can help prevent chipping and peeling, which is always a plus.
In conclusion, creating the perfect Emerald Green nail art is all about taking your time, using the right products, and experimenting with different designs. With these tips and tricks, you’ll be able to achieve a flawless finish that’s sure to impress. So, grab your polish and get started on your next nail art masterpiece!
learn through Tiktok Suggested videos
Hey there, nail enthusiasts! Are you ready to dive into the world of nail art and learn how to create the stunning Emerald Green nail color? Well, you’re in for a treat! Today, we’re going to explore the making of this eye-catching shade, and we’ll be using TikTok as our guide. Yes, you heard it right! TikTok has become a treasure trove of nail art tutorials, and we’ve found some fantastic videos that will help you master the art of creating the perfect Emerald Green nail color. So, grab your nail polish, tools, and let’s get started!
Emerald Green is a beautiful, vibrant shade that’s perfect for any season. It’s a color that exudes elegance and sophistication, and it’s surprisingly easy to create at home. With the help of TikTok, we’ll walk you through the process step-by-step, so you can achieve salon-quality results in the comfort of your own home.
First things first, let’s talk about the base coat. A good base coat is essential for any nail color, as it helps your polish adhere better and last longer. You can find a variety of base coats on the market, but we recommend using a clear, quick-drying formula. Apply a thin layer of base coat to your nails and let it dry completely. This will ensure a smooth and even surface for your Emerald Green polish to glide on.
Now, let’s move on to the main event: the Emerald Green polish. To create this color, you’ll need to mix two shades: a bright green and a touch of blue. For the best results, we recommend using a bright, vibrant green polish as your base. You can find this in most nail polish brands, but if you’re looking for a specific brand, try out OPI’s “Emerald Lake” or Essie’s “Emerald Lake.” These shades are perfect for creating that rich, deep green color.
Next, we’ll need to add a hint of blue to achieve that true Emerald Green hue. A great option is to use a light blue polish, such as OPI’s “Midnight Blue” or Essie’s “Midnight Blue.” Apply a small amount of blue polish to your green base and mix them together on a palette or a piece of foil. You can adjust the ratio of green to blue to get the exact shade you desire. Remember, a little goes a long way, so start with a tiny drop of blue and mix until you’re happy with the color.
Once you’ve achieved your desired shade, it’s time to apply it to your nails. Start by applying a thin layer of your Emerald Green polish, making sure to cover the entire nail. Allow it to dry completely before applying a second coat for a more vibrant and opaque finish.
Now, let’s talk about the fun part: the TikTok tutorial! We’ve found some fantastic videos that will guide you through the process. One of our favorites is by @nailartbyjessica, who breaks down the process into easy-to-follow steps. She demonstrates how to mix the polish, apply it, and even adds some fun designs to make your nails pop.
Another great tutorial is by @nailartbyjessica, who shows you how to create a gradient effect with your Emerald Green polish. She uses a sponge to dab the color onto her nails, creating a beautiful ombre effect. This technique is perfect for those who want to add a little extra flair to their nails.
If you’re feeling adventurous, you can also try out some nail art designs. @nailartbyjessica has a fantastic tutorial on creating a marble effect with your Emerald Green polish. She uses a toothpick to swirl the colors together, creating a stunning marbled look that’s perfect for any occasion.
Once your nails are dry, it’s time to add a top coat. This will seal in your color and add a glossy finish. Apply a thin layer of top coat and let it dry completely. You can also add some glitter or rhinestones for an extra touch of sparkle.
Now that you’ve mastered the Emerald Green nail color, it’s time to show off your new skills. Share your creations on TikTok and tag us in your posts. We’d love to see your beautiful nails!
In conclusion, creating the perfect Emerald Green nail color is easier than you might think. With the help of TikTok tutorials, you can achieve salon-quality results in the comfort of your own home. Remember to have fun and experiment with different designs and techniques. Who knows, you might just discover your new favorite nail art!
So, there you have it, folks! With the help of TikTok, you can create the stunning Emerald Green nail color and impress everyone with your nail art skills. Happy painting!
Q&A
1. What are the primary colors used to create the Emerald Green nail color?
The primary colors used to create the Emerald Green nail color are green and white.
2. What is the base coat used for when creating the Emerald Green nail color?
The base coat is used to protect the nails and provide a smooth surface for the Emerald Green nail color to adhere to.